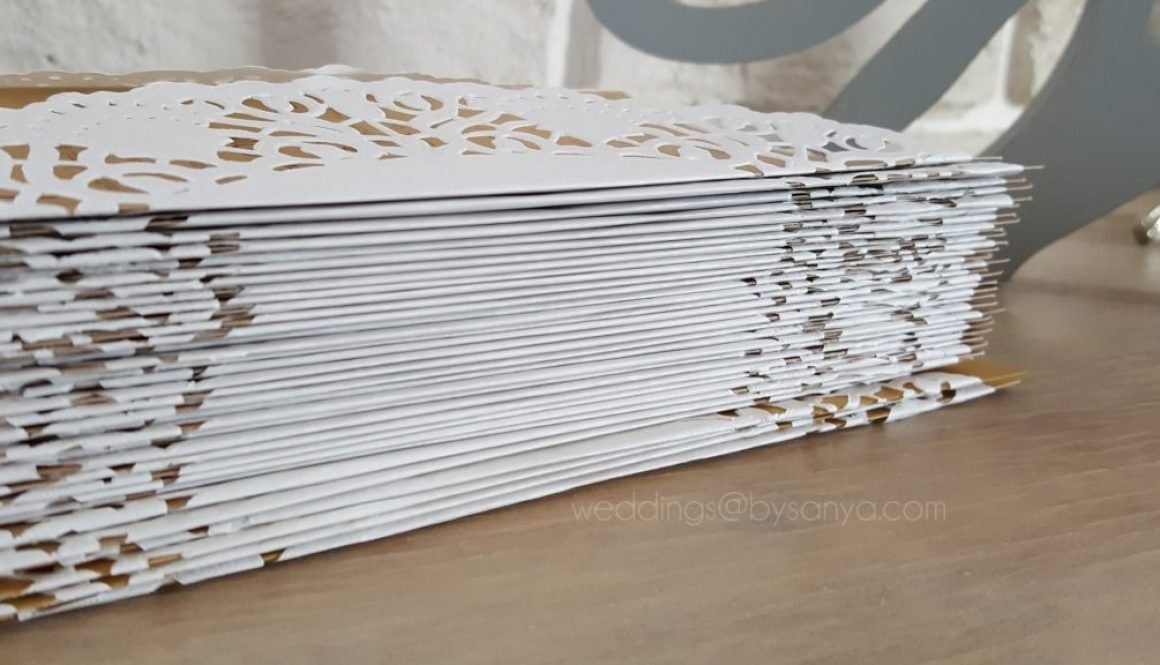
We have decided to undertake the task of trying to make these lovely rustic invitations as you can see on Pinterest, since Wedding Invitations are one of the most important parts of your wedding planning.
Let’s see how you can make your own rustic inspired invitations with “cake paper” and your own twist!
Things you will need
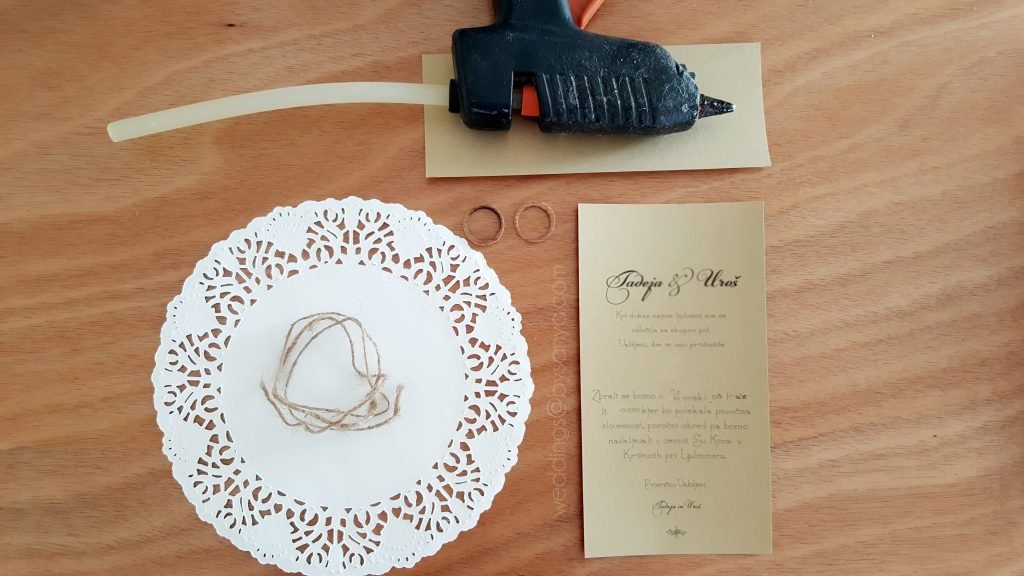
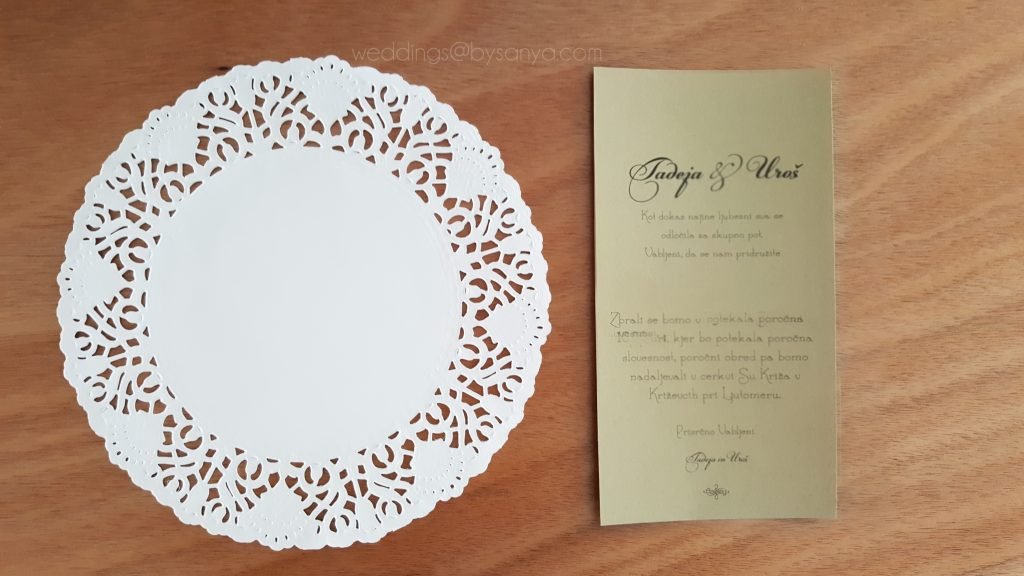
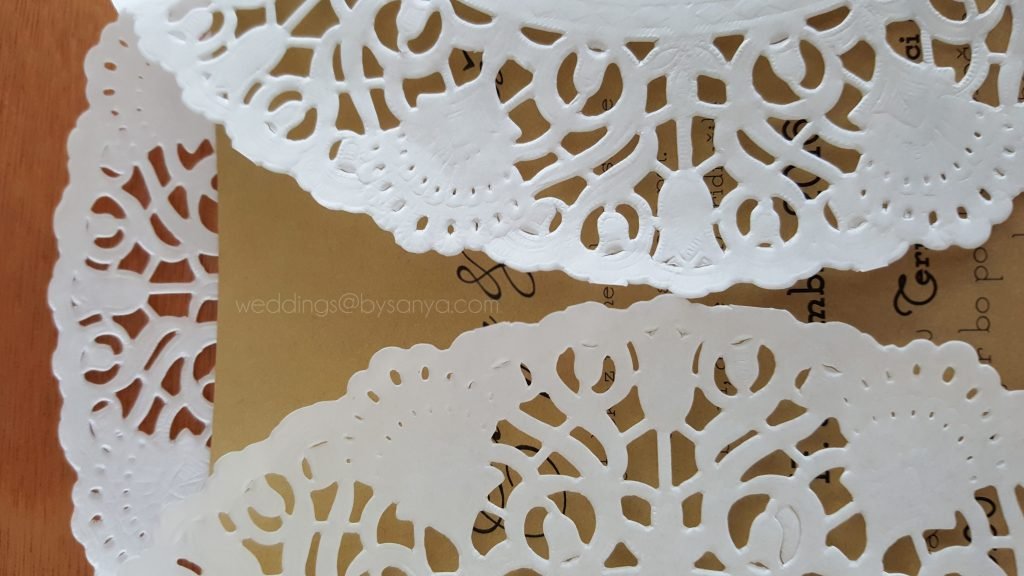
First of all you will need some cake paper of the proper size. Cake paper is a decorative paper that is used under cakes and pastry for decorative purposes, but in our case, we used it to wrap the invitations to give it that rustic lace like feeling. For the invitations we used pearl gold 300g A4 paper and from each (landscape) sheet we got 2 invitations of 11×21 cm – approx dimensions. Which we cut with a proper paper cutter but you can also use scissors. For the final step we used twine (rope) and a glue gun to add our unique accessories which will make these invitations personal.
What to do
Step 1
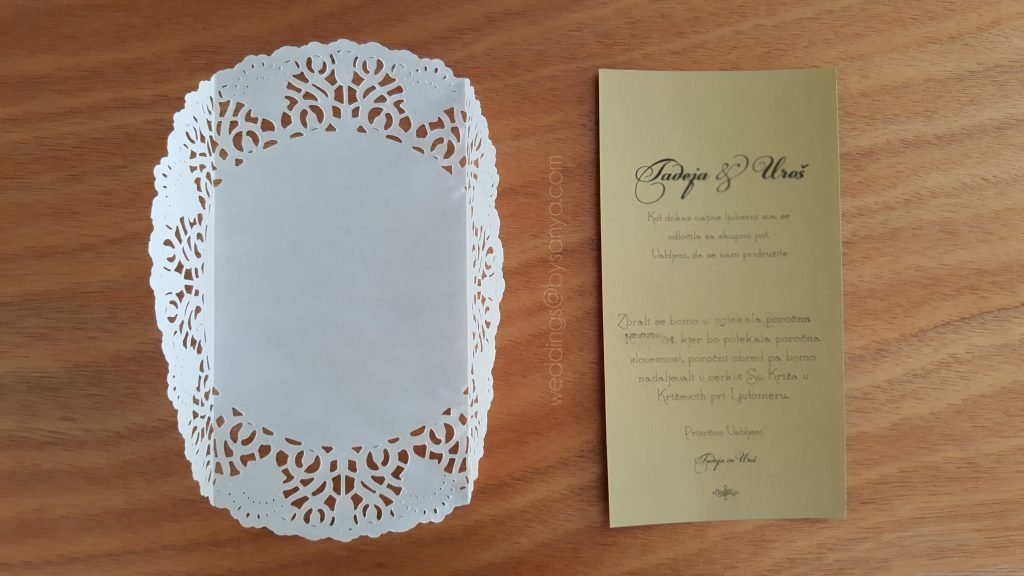
Design your invitations in Word, InDesign or even some free programs like Canva or some other Open Office programs. After printing, cut your invitations at the appropriate dimensions. Your dimensions depend on the size of your cake paper. Our cake paper was 21cm diameter, but you can get many different sizes.
When you buy your cake paper fold it in 2 parts, so that two ends barely touch and then measure the area. This is how you will know the size of your invitations.
Step 2
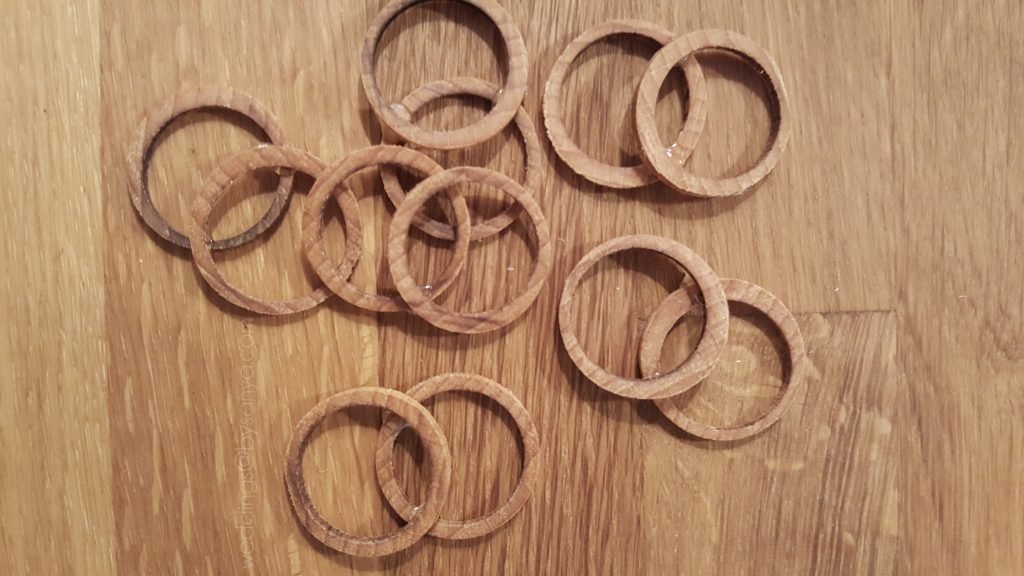
After you determine your size, prepare your accessories. We had custom made wooden rings, which represent our lovely couple’s eternal love.
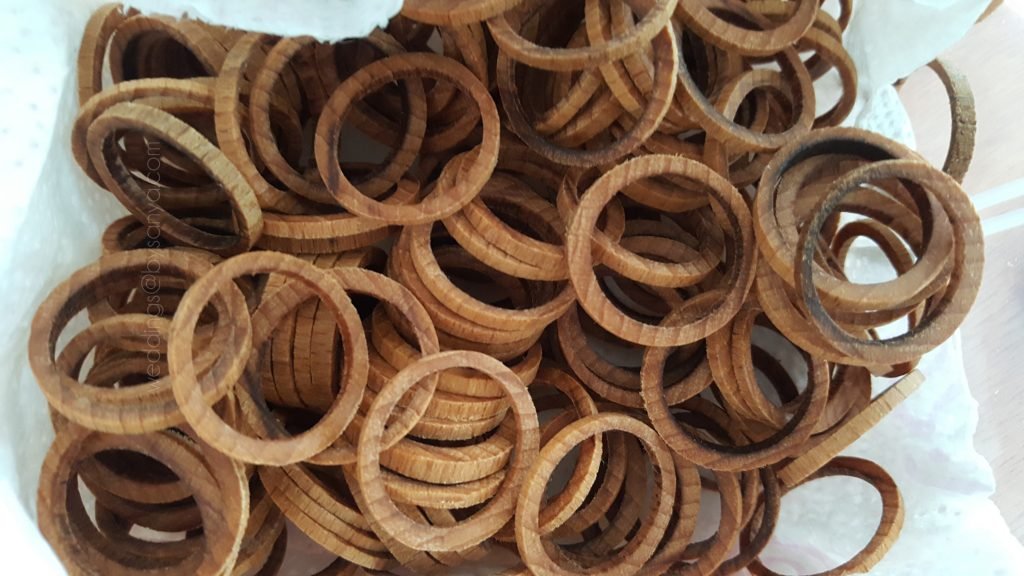
We glued 2 rings together with a glue gun since this was the fastest way of attaching them. But on the other hand, we could also use wood glue. Measure your twine length by wrapping it twice or tree times around your invitation and make a bow. Then take this length and reproduce it for as many times as you need (the number of invitations)
Step 3
When you are all set and ready, insert the invitations in the cake paper “sleeve” and wrap it with a twine. After all your invitations are tied and ready, prepare each one to glue your special accessory you prepared. We glued the rings on top of the empty space of the invitation as you can see on the picture.
To visualize your designs, try a couple of invitations before you finalize the design and make sure your accessories will truly upgrade your invitations.

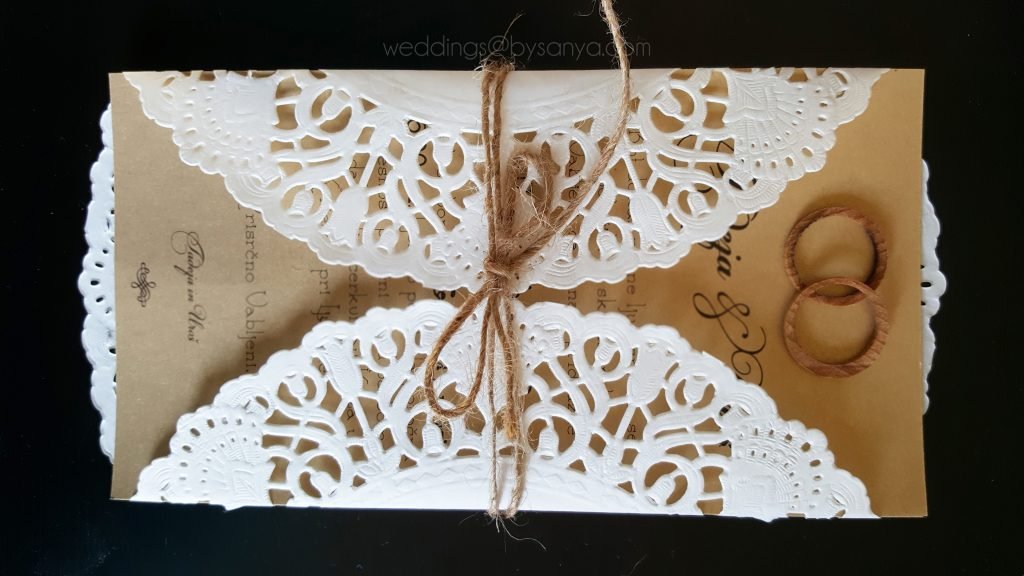
Step By Step Wedding Invitations in Pictures

Photos by WBS
We hope you enjoined our little tutorial. Let’s see more of your personalized Wedding Invitations, so share with us!
~ With {Diamonds} and {Kisses} from WBS
